

 This is FUSION")

")
")
")


")


Here’s a tutorial on everything you need to know about removing the protective lens on the HERO5 camera. Didn’t know you can remove it? Well you have come to the right place.
MORE ACE TIPS
The HERO5 Black camera is waterproof and comes equipped with a protective lens. This lens can be easily removed for cleaning, repair, or replacement.
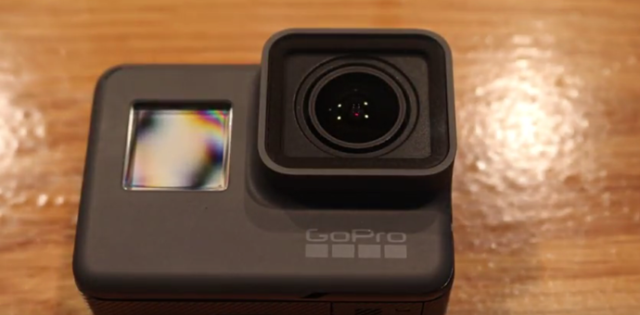
Here’s what you need to do in order to get that lens off and on the HERO5 cam:
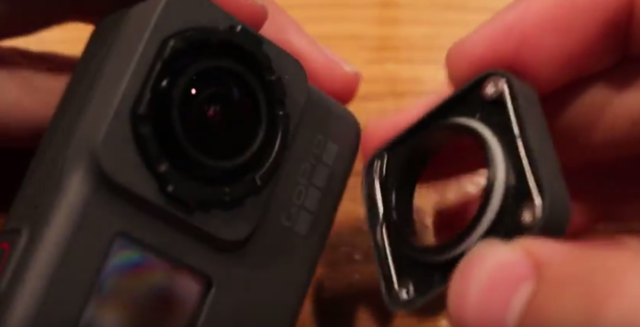
- Hold the GoPro HERO5 securely and pull on the front protective lens.
- Make sure that the camera is held upright position. Then twist the lens in a counter-clockwise direction.
- Notice that the lens will begin to loosen.
- Once the cover has been removed, the actual lens becomes exposed.
- To re-tighten the protective lens ensure that the notches on the GoPro HERO5 camera matches with the notches on the protective lens.
- Ensure the GoPro HERO5 is in upright position. Turn the protective lens in clockwise direction.
- Stop twisting when you hear a solid click sound. The protective lens is now securely fastened.
- LIKE US if you found this post helpful!
We have included links to 2 videos showing how to remove and replace the HERO5 lens.
 This is FUSION")

")
")


 This is FUSION")

")
